A job in Pipeline LBM is the container for your takeoff, measurements, quantities, and Bill of Materials (BOM). You can create a new job in several ways, depending on where you start in PLBM and whether you are ready to upload plan files.
Note: A Job Number is required to create any job. Use unique Job Numbers to avoid confusion during syncing.
Method 1: Create a Job from the Takeoff Workspace (with PDF upload)
Use this method when you are ready to start a takeoff immediately and already have plan files.
- From the PLBM dashboard, select Takeoff and choose Navigate to Takeoff.
- Select Create New Job.
- Enter the Job Number (required).
- Review or update the Due Date.
- (Optional) Complete additional job fields.
- Next to PDF File(s), click Select File and choose your PDF (required).
- Select Save.
Result: The job is created, and the PDF opens automatically in the Takeoff workspace. Set the sheet scale and begin your takeoff.
Method 2: Create a Job from the Jobs page (no PDF upload)
Use this method when you want to create a job record first and upload plan files later.
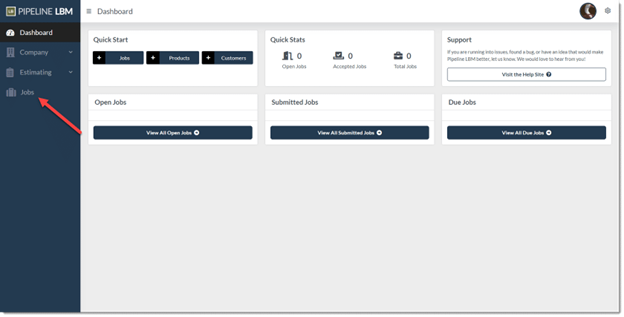
- Navigate to the Jobs page in the blue navigation bar. If the bar is collapsed, hover over the Jobs icon and select Jobs.
- On the main Jobs page, click the+ icon in the top right corner.

- The New Job dialog will open.
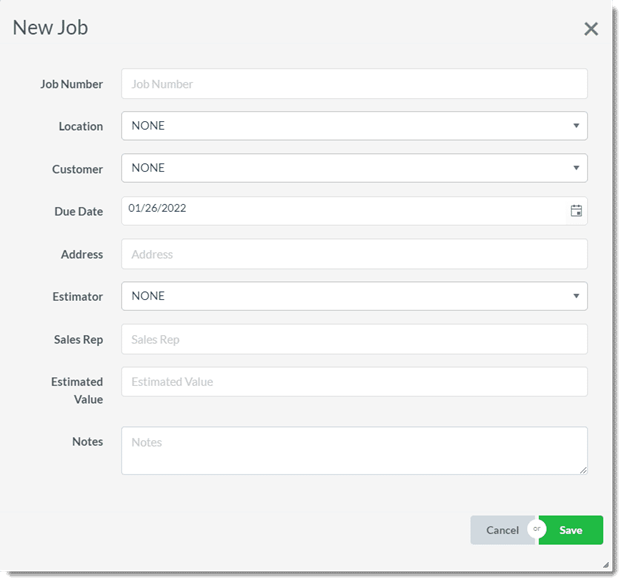
- Enter the job number (required), and any applicable location, customer, due date, job address, estimator value, or any notes.
- Once done, click Save.
- After saving, you will return to the main Jobs page. Confirm that the new job appears in the list.
Result: The job is created, but no PDF is attached yet. Open the job in the Takeoff workspace and import your plan files before you begin a takeoff.
Method 3: Create a Job from the Dashboard Quick Start menu
- On the PLBM dashboard, locate Jobs in the Quick Start menu.
- Select the plus (+) icon.
- Enter the Job Number and optional fields.
- Select Save.